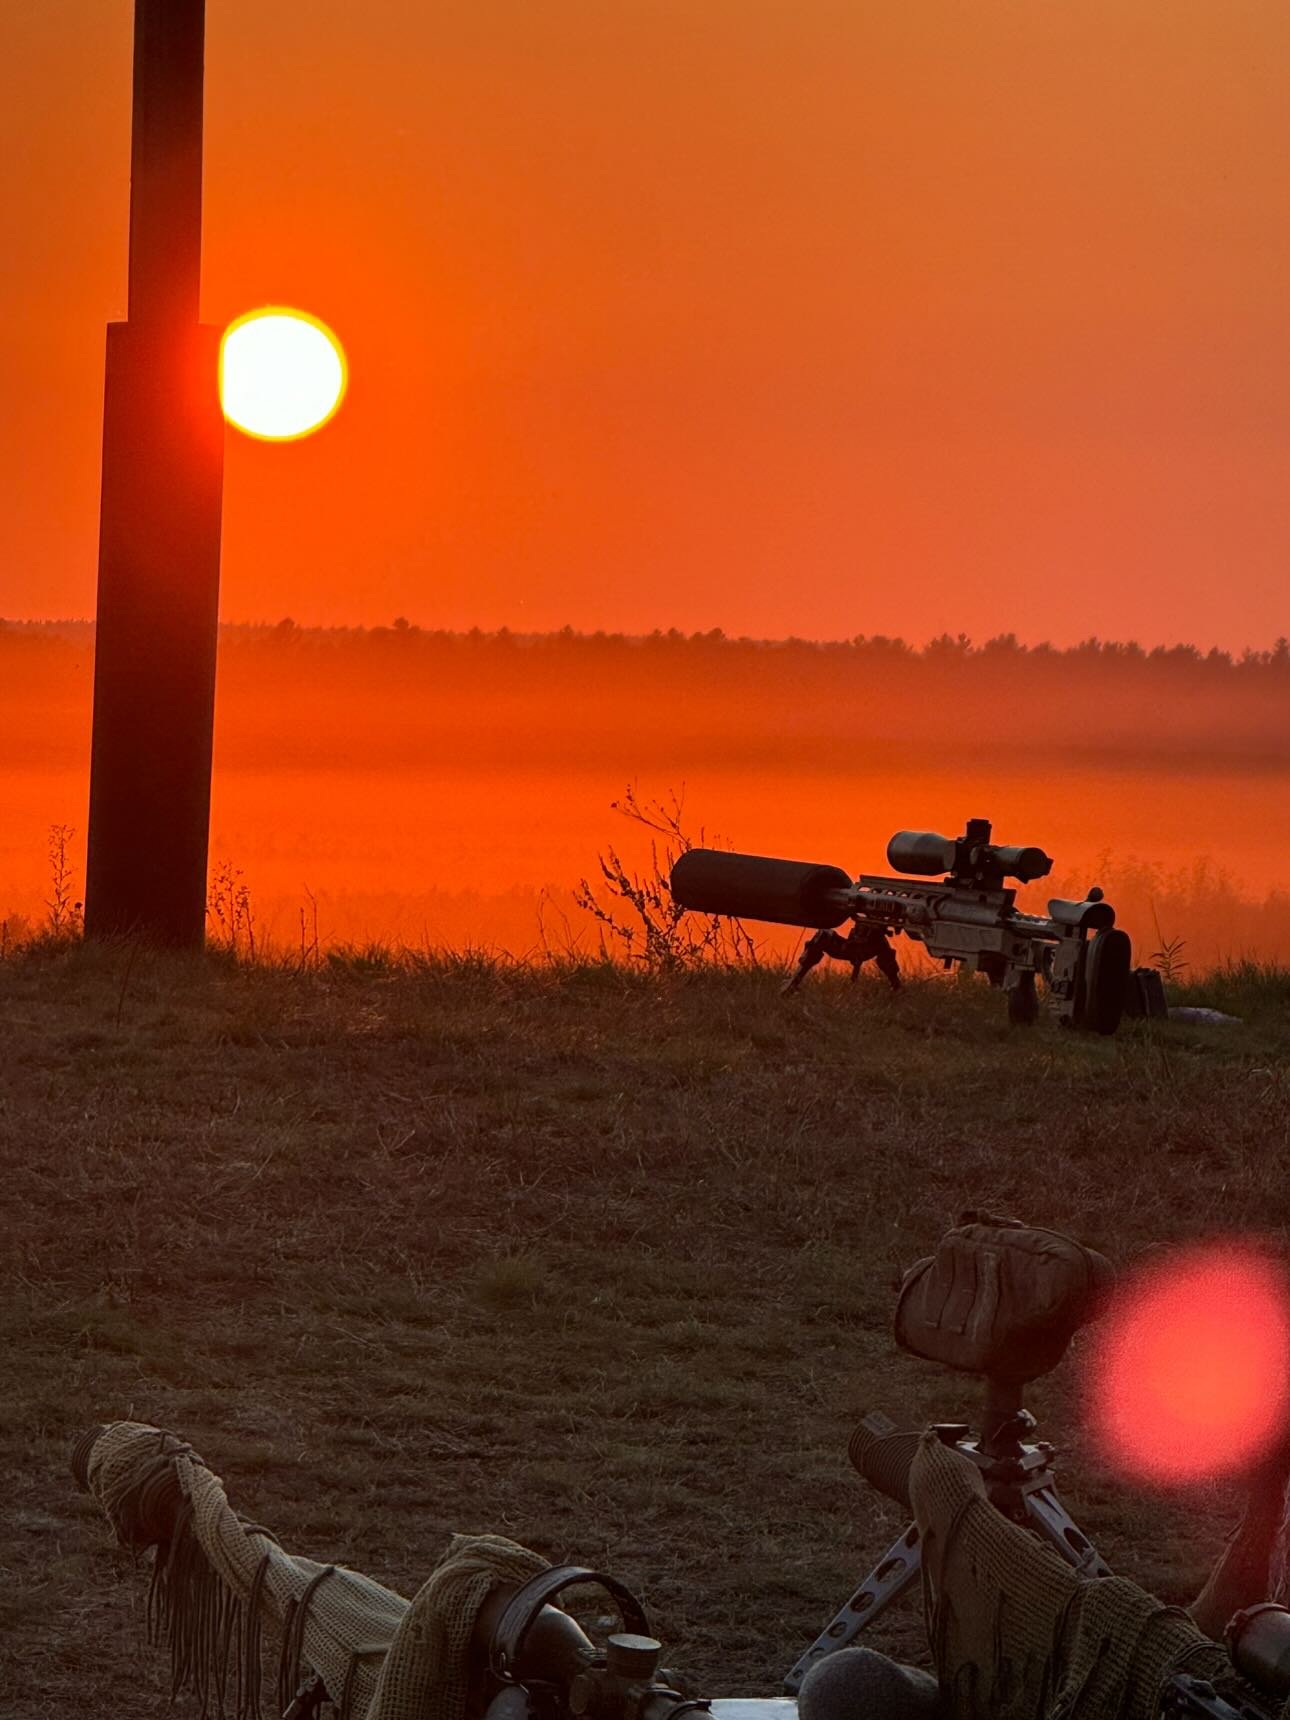
For many of us, the C3 was the first sniper rifle we ever fired, and now, there’s an entire generation of shooters who will never have the experience of handling that iconic, historic rifle. Even as late as 2005, when I did my basic course, the C3’s best days were behind it, but there’s no denying that when you had your hands on a good one, it could still perform. A big part of what we want to do with the CSA is to preserve history, and we’re fortunate to have another great story from Dave Oakie. He shares his experience of upgrading the C3 from its original wooden stock to a new synthetic one while attending a course at McMillan. As you’ll see in Dave’s account, this upgrade wasn’t just about durability and comfort—it also brought a noticeable improvement in accuracy.
McMillan Gun Stocks, Phoenix Arizona
C3A1 Re-stocking 1997ish
A “POLAR” Event
After a rewarding 10 years in the Infantry, I remustered to Wpn Tech in 83. Much of my time in the Infantry was spent competing in Service and Target Rifle as a military member, Nationally and Internationally. After 83 most of my shooting was done on my own time as the EME trade had no formalized Small Arms Teams. In around 97, I was one of two Armourers sent to attend the re-stocking/bedding course for the C3A1 sniper rifle at McMillian, as they were contracted to produce the new synthetic stock. Phoenix was 100 degrees every day and homes had fridge sized air conditioners mounted on the roofs. It was a shock coming from Alberta in early spring. I looked forward to the course as I had done some trigger time on the improved C3A1. It was much improved from the original rifle which most of you modern Snipers probably never had the dis-pleasure of using.
McMillan was quite a set-up, specializing in gun stocks but also offered specialty ammo development and had their own .50 and .30 cal rifles in production at that time. The Armourers spent a lot of their time bedding rifles for the customers who bought their stocks. I was looking forward to see how the pros operated. The Company treated us amazingly and gave us a complete tour of their works.
The first morning the armourer brought out a C3A1 that they had on loan for the bedding course, as well as the new stock it was going into. The stock was already in-letted for a short action Mauser which they were very familiar with. Basically, the next steps were preparing for epoxy bedding and prepping the metal and stock accordingly. When the armourer had a closer look at our C3 action he was a little confused with the trigger. It was an aluminum housing with the rear tang actually drilled out to accept the rear bedding screw. This means that the trigger basically has to stay on the rifle during the bedding process, as the rear trigger tang is bedded. He was a little miffed at the trigger design and took it off the rifle and eyeballed it.
“The rear trigger tang (aluminum) isn’t even flat, can’t bed that” he said. “I’m going to put a different trigger on”. I was about to inform him that we didn’t have the option of doing that but he was gone in a flash. He came back with a Canjar trigger. In his attempt to put it on a few choice words came out of his mouth. On the C3A1 there is a welded threaded tube just in front of the trigger to accept a screw for the mag housing, if I remember. This interfered with the Canjar.
Back to square one. He took the C3 trigger to the milling machine and trued the rear tang. Now we could carry on. I think he was thinking in his head, what a Jurassic design, and this was our fairly new rifle. Unfortunately, the trigger stayed the same as the old C3. The rest of the bedding process went without problems other than the extra care in prep as the trigger needed to be free from epoxy. In years passed we used a small brass bushing to simulate the rear trigger tang which allowed us to remove the trigger. To a pro, this probably would not be feasible as the trigger tang may not be flush after the bedding bushing was removed, possibly causing slight torque in the action?
The bedding compound being used was Marine Tex. An industrial epoxy well suited for bedding and readily available in large tins. I use it to this day. Once the pouring, settling and cleanup was done we adjourned till the next morning. The armourer mentioned that after we completed the process and the rifle was ready to go, I was going to shoot it at their range along with some of their rifles.
The next morning, we cleaned up the rifle and headed for the range. We were set up at a bench at 100 just like most other ranges you are used to. I bore sighted, old-fashioned style, at least to print on paper as my intent was to shoot a group and not necessarily adjust for the centre. The improved stock was far more ergonomic and allowed a proper cheek weld, being adjustable. I settled in and dry fired a few times then let one fly. I could see it in the white part of the target, so fired another. I could not see it on the target! Since we had a lot of time, I went down to see what’s up. Well, the second round went thru the first one almost exact. I am now thinking that this rifle will shoot. I went back and did zero for point of aim impact. I was impressed as was the armourer. I then went down to the target and pulled out a Toonie and taped it to the surface. The armourer asked me what I was doing, so I said, “I’m going to attempt to do something that has not been done before.” “And what’s that?” he said. “I’m going to be the first person to shoot a Polar Bear in Arizona!”
We went back and set up. I’m sure I had every finger crossed. I lined up and let it go. The impact left the Toonie swinging from the one piece of tape left. We went forward, and low and behold, the centre was shot clean out (pic). I amazed myself, and out the corner of my eye I seen the armourer on his knees. “What are you doin?” I asked. “Looking for that Polar Bear, they won’t believe this back at the shop.”
Your welcome Canada, I impressed someone!
Start the Toonie club!


